I’ve got a bit of a secret project going on right now. My SIL and I have been taking Harry Potter pictures of my baby, Addie. They have turned out so well! More pictures to come!
To make this the huge success that it has been, we have needed some Harry Potter props. Luckily, being the fanatic that I am, I have been ready for just such an occasion. As we have come up with more ideas, I’ve set aside some time to create some Harry Potter props, like the ones I will talk about in this blog post.
Below are two of the Harry Potter crafting projects my friend and I worked on this week. I have listed out each step and included a few pictures so you can make these yourselves for whatever Potter occasion you might have coming up.
DIY Dobby Ears

I’ll admit, these are a tad big. However, these are easy to trim down. You just need some scissors and a hot glue gun.
Here is a step-by-step guide on how I made these. You’ll be surprised at how simple and affordable this was:
You’ll Need:
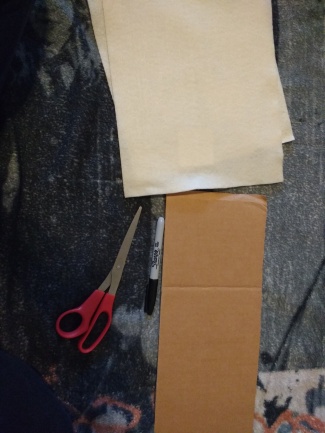 Cardboard
- Used a diaper box. Always one of those lying around!
- Scissors
- Make sure they’re sharp.
- 2 piece of felt
- Only 39 cents a piece at Michaels.
- Hot glue gun
- Watch it around your kids! Also, keep an eye on your own fingers when using it. Addie distracted me at times during this project and I wasn’t always paying attention to where my fingers met the glue until it was too late! Ouch!
- Marker
- Headband
How to Make Dobby Ears
Below are 10 easy steps to walk you through how to make Dobby ears.
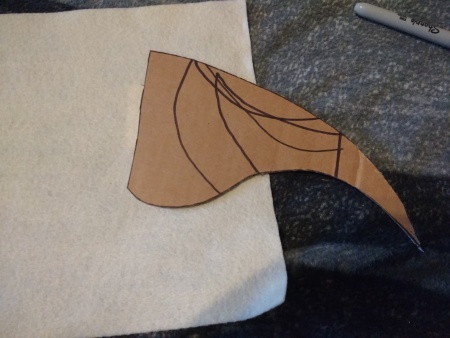
Step 1: Draw an outline of elf ears on your cardboard. You can use the pictures I’ve included as a guide or search pictures of Dobby online for some ideas.
Step 2: Cut out ears. Hold them up to your head, or your baby’s head if you’re doing this, to make sure they are the right size. I had to trim these down and I think they were still too big.
Step 3: Take your piece of felt and cut it in half if you have an 8×10 sheet of felt.
Step 4: Glue cardboard cutout ears onto half of the felt.
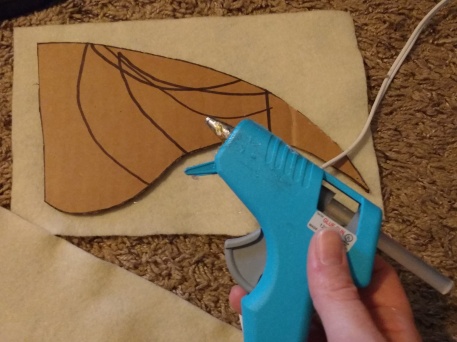
Step 5: Cut the felt around the ears. Leave about half an inch of space beyond the cardboard as you cut around it.
Step 6: Put glue on the other side of the cardboard and place on the other half of your felt.
Step 7: Cut around the edges like before.
Step 8: Once cut, glue the edges together, leaving it open where the ear will meet the head.
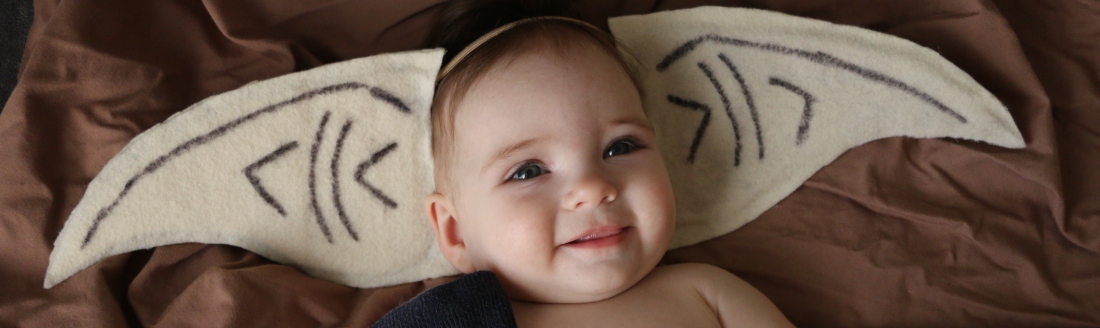
Step 9: Draw your ear design on the felt ears.

Step 10: Put glue in the last edge of the ears and place one section of the headband into the glue, attaching your ear to your headband. Do this with each ear; one on each side of the headband.
And voila! You have yourself some Dobby ears. Next trick: Getting them to stay on your baby’s head…
DIY Monster Book of Monsters
Next up, the lovely Monster Book of Monsters. If you don’t remember this from the books or the movies, here’s a quick recap:
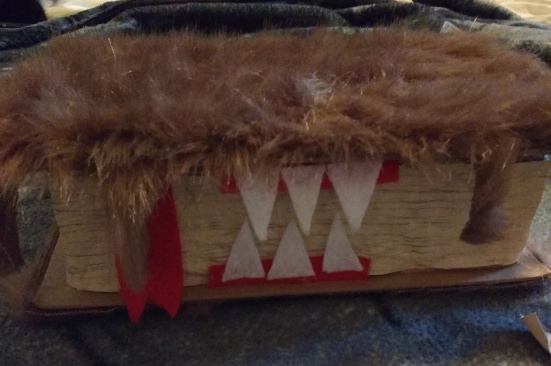
This is our version of the Monster Book of Monsters:
You’ll Need:
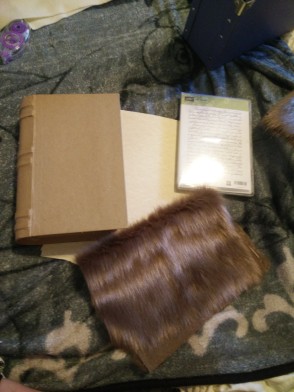 Book
Book
- We got a cardboard book from Michaels for $4.99 (40% off with a coupon)
- Faux Fur
- Also found at Michaels. Priced at $2.99 a sheet. One sheet almost covers the whole book, but I would recommend getting two.
- Red and white felt
- Each sheet of felt is 39 cents at Michaels.
- Off-white paper
- Pencil
- We even used a stamp set from Stampin’ Up for the inside pages, but that’s not necessary.
- Scissors
- Hot glue gun
How to Make The Monster Book of Monsters
Below is a list of steps for how to make The Monster Book of Monsters.
Note: If you are using an old book to cover and not a cardboard one, skip steps 1 through 4.
Step 1: Take pieces of paper, draw lines on them and crinkle them in your hands. This will make the pages look old and worn.
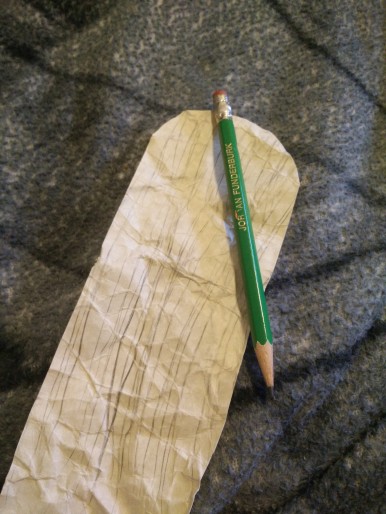
Step 2: Cut out the paper so it fits along the edges of the book where you would normally see pages, as seen above.
Step 3: Glue pages to the book.


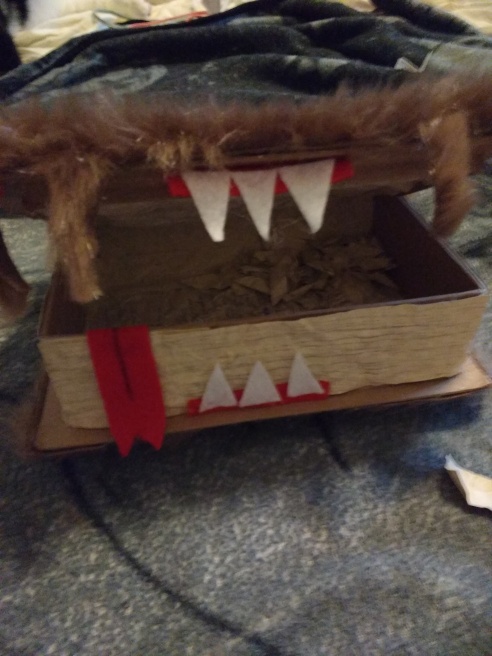
Step 4: Do the same for inside of the book, too, if you want to be highly detailed. We even cut up little pieces of the pages and put them inside the book to make it appear like the book was eating its pages.


Step 5: Take faux fur pieces and cut to fit around the book. Cover the binding and everything and glue on.


Step 6: Cut out long rectangles from your red felt. These will be the gums.
Step 7: Cut out 6 white triangles from your white felt. These will be the teeth.
Step 8: Glue the red pieces of felt (the gums) to the top and bottom of the inside of the book. (See picture to understand placement). Glue teeth on top of the gums. Three on top and three on bottom.
Step 9: Cut out a red strip from the piece of red felt that looks like a bookmark. (See picture above for reference). Glue next to teeth and gums.
Step 10: Cut out strips of the Faux Fur and attach around edges of top flap of the book. This will make the book appear hairier and scraggly.
And there you have it! Here are two fun Harry Potter crafts for your Potter party or photo shoot.
What Harry Potter crafts would you like to see created? Leave your suggestions in the comment section below and you might just see them featured here!
